
2014 Christmas Tree
Well it's been a while, a year in fact since I have been here to blog. Let me start by saying that I miss writing about Christmas. But since it only comes once a year, I'll have to be happy with it for now. Next year I hope to do more.
I like to change the look of my Christmas tree every year...but I don't like to spend a lot of money doing it. So far I average around $25 every year to give it a new look. I don't change the ornaments, because those are special and I put them up year after year. The basics on the tree is what I change. This year instead of just showing pictures of what the tree looks like, I have decided to go through the process of decorating this tree step by step.
To begin, I set up the tree (pre-lit) in the area where I want it. This year because I wanted a different look, I went and bought about 2 sets of green mini light sets. I added about 200 green lights to the inside of my tree. I just wind them up and down through the middle of the tree. This helps to add depth to the tree.

After I have added the colored lights, next I put in some colored bulbs. Other years I have added glass bulbs. I find that older glass bulbs start to lose their color, and they don't look as good the following years. I found some plastic bulbs in assorted colors a few years back and they have stayed nice. They are what I use now.

These still look great even after 5 years of use. Well I add these bulb ornaments throughout the inside of the tree. Along with the green lights, having these on the inside added a lot of depth to the tree. After all the lights and bulbs you want to use are distributed throughout the tree, I was now ready to put on some time of garland. I like the sparkle of bead garland in a tree. I also wanted to whole color scheme of my tree to change. I know that Poly Mesh material has become very popular for people to use in wreaths. I decided to use it in my tree this year. Walmarts had them for $4.77 for a roll. I think that's a great price. I bought a couple of rolls. I liked the green and white striped poly mesh. I twisted the mesh as I unrolled it. Then I added bead garland which I twisted around the mesh. I wrapped this through the tree from the top to the bottom. I used the left overs for a tree skirt.

I used two green and one iridescent bead garland strings. I found them at Sear's black Friday sale. They were priced at $2.99 and they were marked at 50% off. I found more at Walmarts after Christmas sale. They were $1.99 marked at 50% off. Needless to say, I bought quite a few in different colors. These bead garland were 18 feet in length. I will be doing another blog about bead garlands and how to use them. Look for it along with videos. After the garland was put into the tree came the next part of creating a different look. I like to put large items in the tree and throughout the tree to give it a theme. This year I used 18" diameter snowflakes. I found these amongst a bunch of stuff that was donated to the teacher at the school where I teach. I pulled about 23 of these snowflakes from the pile of stuff. One of the other teachers asked what I was going to do with all those snowflakes. Put them in my tree of course!
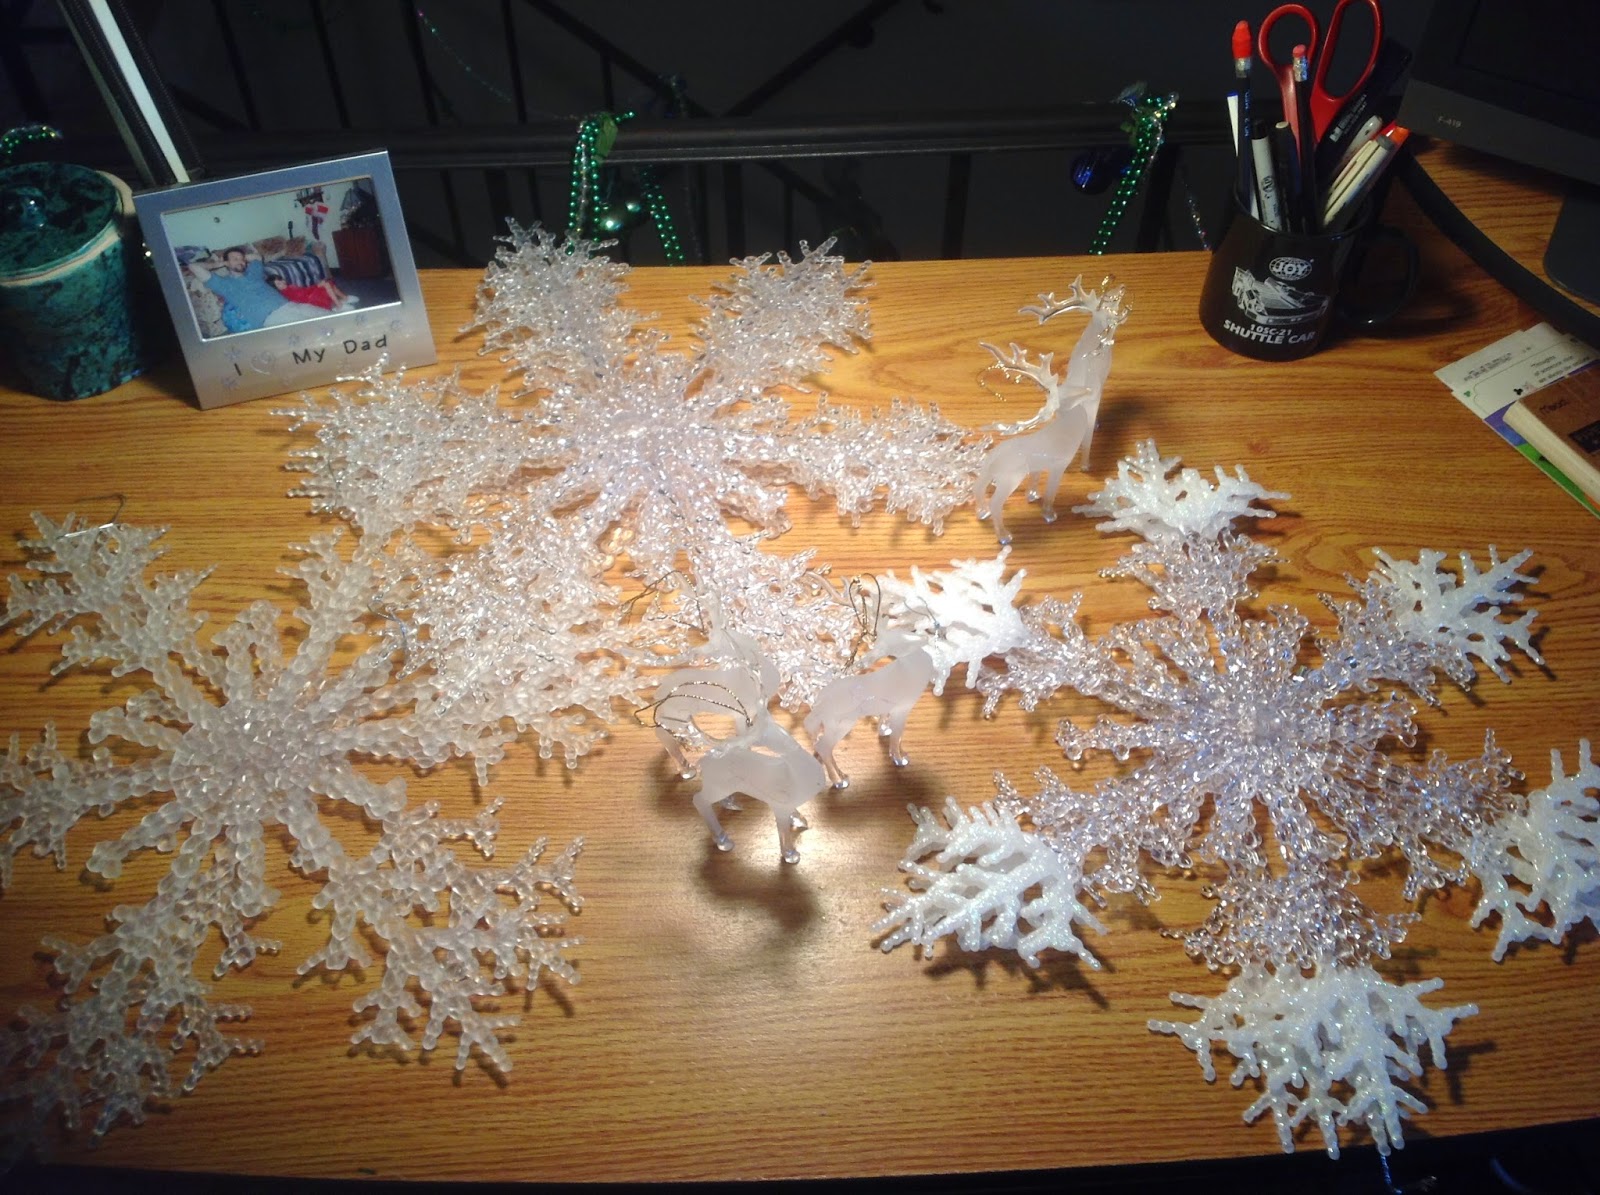
These are the assorted snowflakes that I used in the tree. I put 10-12 of these snowflakes into the tree. The lights of the tree made them glimmer and shine. I added some acrylic frosted reindeer to the tree using the snowflakes as a back drop. This gave the tree a woodsy look.

After I placed these snowflakes around the tree and on the tree top. I added my usual ornaments that I use every year. After the glass ornaments, I put the special ornaments that mean something to the family. These are ornaments my daughter made when she was young. Special ornaments that were given as gifts, and picture ornaments that have pictures of people close to us.

These are the same ornaments that have gone on my tree for 15+ years. Everyone should have ornaments that are special for their tree. They are memories and keepsakes. Finally, the last thing I put on the tree was tiny snowflakes. I put about 3+ dozen mini snowflake ornaments all over the tree. They were less than $3 for a box of 12 at Walmarts. I bought probably about 5 dozen, because I will use more of them throughout the house in other displays.

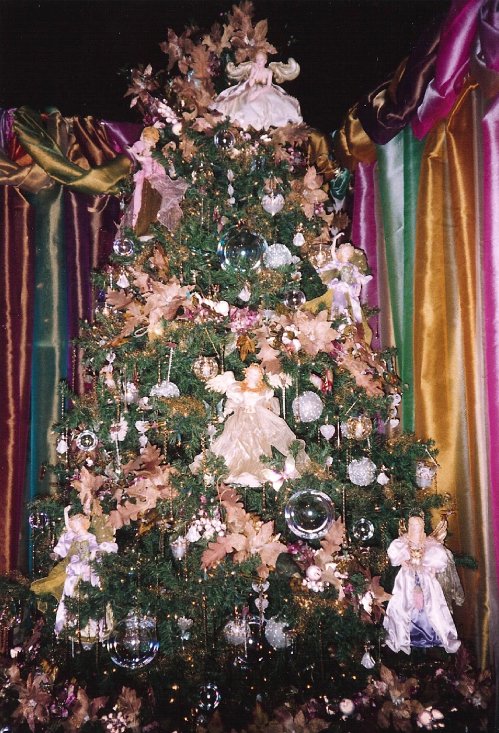
These snowflakes put the final touch on the tree. I call them fillers. (Read my other blog about fillers.) These tiny snowflakes had glitter on them that just set the whole tree alight! I think this tree turned out to be my husbands favorite tree. Here are a couple of pictures. One during the day and one at night. This new look cost about $25 and I had a tree with a whole new look.


Day Time Night Time
This is my blog about my 2014 Christmas Tree. Hope you enjoyed it.


